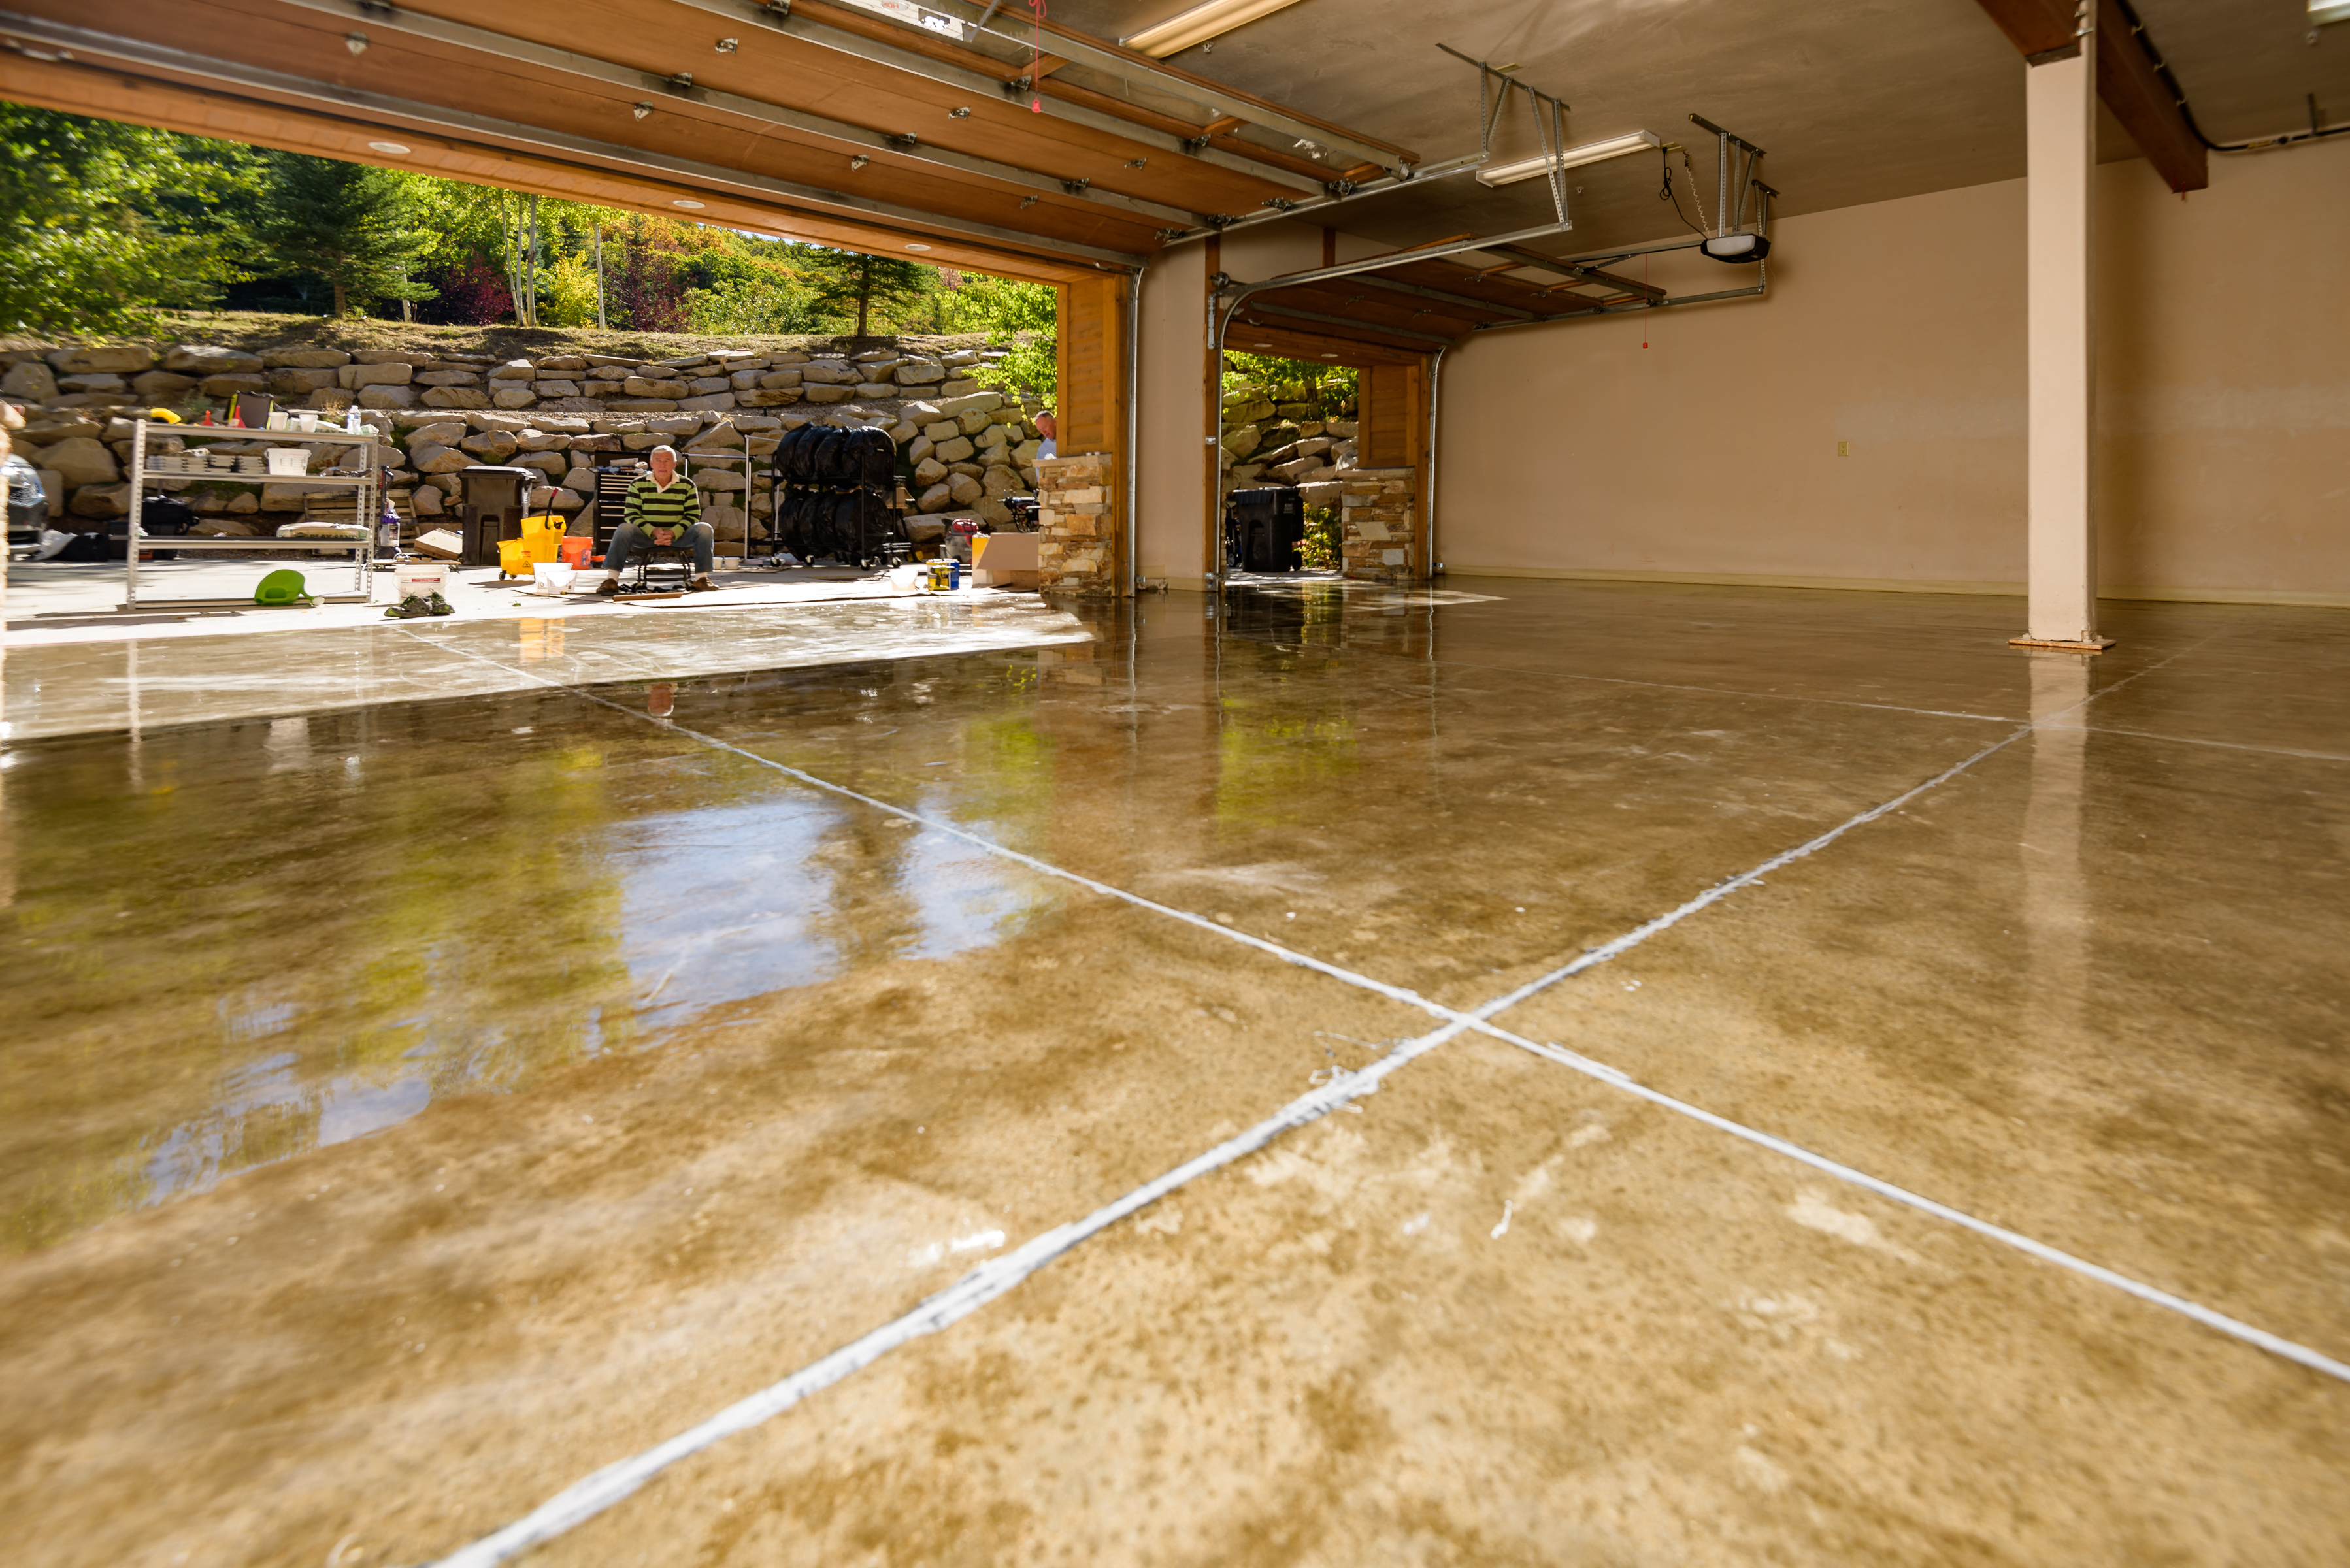
Unfilled cracks and expansion joints (saw cut or troweled) can drain off valuable epoxy material from your floor surface and will trap dirt and moisture increasing your floor maintenance efforts. Filling them is a popular practice but appropriate materials need to be used and applied correctly. For information on crack and expansion joint preparation techniques prior to IntegraFlex 1921 application please see our V-Notch TechNote.
It should be noted that cracks and expansion joints are there for a reason. Cracks are an unintended result of movement or stress of the concrete. Expansion joints (control joints, isolation joint, construction joint etc.) are there by design in anticipation of cracks forming during the cure cycle of new concrete. By cutting or forming cracks when poured the goal is that as cracks form during the cure they will do so at the bottom of these joints were they are hidden. Filling cracks and joints is not intended to arrest or correct the movement. Filling and coating these may result in cracking of the coating at these points and may need future maintenance.
For 1/8”- 3/8” saw cut control joints it is fine to fill joints prior to coating. For troweled joints that exceed 3/8” we recommend filling joints after coating. The IntegraFlex 1921 remains flexible after fully cured, when filling larger gaps prior to coating the final coating is at risk of cracking if pressure is applied directly over the flexible filler. Rolling tool cabinets, engine stands, etc. can exert significant pinpoint pressure that cannot be sufficiently supported by underlying flexible joint filler and may lead to cracks developing in the coating system directly over these transitions.
The two IntegraFlex 1921 components, Resin Part A and Hardener Part B, will settle during storage and transportation so, before combining them you need to stir each component individually first. Use a paint mixer attached to a 1/2″ variable speed drill. Stir until the material is completely mixed and homogenous throughout, about 90 seconds at medium speed. When both components have been mixed individually combine equal parts A & B and mix thoroughly for 4 minutes at medium speed. Thoroughly clean the mixing attachment with denatured alcohol or MEK after each use and between mixing the separate components.
Being an epoxy IntegraFlex 1921 does have a limited pot life. That’s because epoxies cure by exothermic reaction, that is by heat. Components in the IntegraFlex 1921 Resin Part A and Hardener Part B, when combined cause heat which drives the curing process.
Think of the mixed epoxy like a crowd of people at a party, when placed in a small room the room temperature can warm up quickly. It’s the same with epoxy. If left in the smaller space the epoxy can heat up in a matter of just minutes, in fact it can get so hot that it will even smoke. When it gets that hot the curing process speeds up and the epoxy will become too stiff to handle and will no longer be useable. To prevent premature curing, and to help extend the pot life after mixed, transfer the mixed IntegraFlex 1921 out of the small mixing container and into a larger surface area, like a roller pan, immediately after mixing.
The IntegraFlex 1921 mixing ratio is 1:1 by volume, that is one portion of Part A is combined with an equal amount of Part B.
Do not mix more IntegraFlex 1921 than you can apply in 20 minutes. Start with small batches and increase the amount as you become more comfortable working with.
Different people like working with it in different ways depending on the task at hand. Some like to work with it as soon as it’s mixed and somewhat liquid by pouring it into the voids, others allow it to set up a bit until it’s firmer and then work it into voids with a putty knife. Note: depending on weather and other factors the mixed IntegraFlex 1921 may not be thin enough to pour.
Another technique is to fill slightly over grade , monitor the IntegraFlex 1921 while it cures for some time, and then, after it has firmed up but not fully cured, cut or shave off the excess using a sharp putty knife or a box cutter blade using the surrounding grade as your guide.
IntegraFlex 1921 can be feathered to blend into the surrounding area.
A one gallon kit will make enough material to fill about 165 cubic inches.
For more information contact us!
